Saturday, October 21, 2006

How Do You Get Past The Metal Fish In Poptropica?

Unity is strength .. or the effort .. The idea


Cosa c'è di meglio che passare un sabato in allegra compagnia del buon empirico a creare un aggeggio che unisce la zanzara del marsciall allo stupendo fruscìo del viamp?
Molte cose direte voi..
Tuttavia se siamo qui è perchè effettivamente di alternative non ne avevamo molte, così ci siamo messi all'opera..

Il materiale che avevamo a disposizione era un vecchio combo marshall valvestate 8040, un v-amp pro rack e del legname.

L'idea di fondo era di creare un nuovo combo che contenesse sia la testata marshall, sia il v-amp, sia la pedaliera midi.

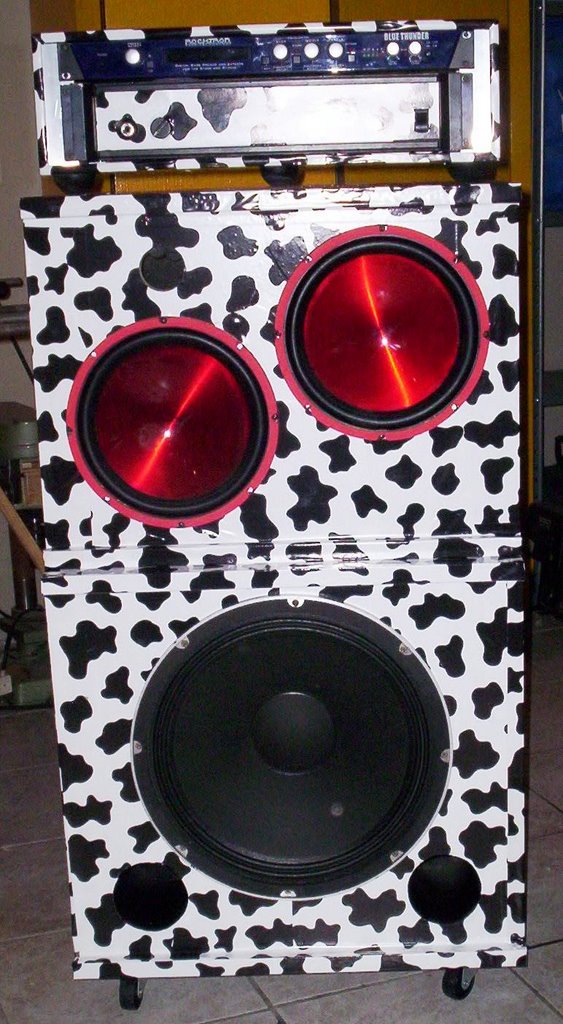
Abbiamo scelto una linea stilistica abbastanza classica, stile vox, con il vamp nella parte superiore, ed il marshall nel retro. la pedaliera si infila nello spazio tra la testata ed il cono, attaccandosi al magnete, in modo da non muoversi.
Abbiamo iniziato con l'assemblaggio del cabinet, realizzato con mdf da 16mm, incollato con colla vinilica a presa rapidissima.
Mentre la colla ascigava, abbiamo preparato la testata, tagliando la lamiera originale in modo da mantenere solo la parte frontale, ed abbiamo eseguito i cablaggi elettrici, con la derivazione per alimentare anche il v-amp.
A colla secca abbiamo montato tutti i componenti per eseguire un test di funzionamento, prima di procedere con la ricopertura del legno.
Soddisfatti the test, we removed everything and started the real hard part of the work .. covering.
For this purpose we used mock snake skin adhesive paper, which contained two small flaws: it was not very sticky, forcing us to an abundant use of staples to secure the borders, and was little, it was not enough to cover everything (but now the Castorama was closed .. hehe).
A coverage is complete, we put the dust cloth front and top handle. We then tested and reassembled
v-amp, we shook hands and we have decreed the end of work!

Here you will find a gallery dedicated to the construction dell'oggettino ...

Stay tuned!

Saturday, October 14, 2006

Adult Double Blade Skates

illuminating


After the Tamarramp, I realized I had left in the hands of a 15-inch bell'altoparlante broken .. I was sorry to throw it away because it was aesthetically in good condition and was also very original ..
Then I thought of turning it into a lamp for my bedroom, replacing the previous one, made with a barrel of beer (but that's another story ..) I am
procured a holder, lamp low consumption, with the neon spiral (just to add another touch of originality) and I began to work.
Opera .. quarter of anger work ... I simply made a hole in the shell of aluminum cone nel quale ho fissato il portalampada; ho collegato i cavi elettrici ed appeso l'oggetto.

Per la serie.. non si butta via niente.. ehehe

Friday, October 13, 2006

Some Time Stomach Stick Out Too Much

Tamarramp

L'idea nasce dalla volontà di fare un regalo ad una cara amica, alla quale serviva un amplificatore per basso.
Purtroppo il risultato finale si è rivelato decisamente sovradimensionato per uso domestico, così abbiamo optato per un'altra soluzione..

Quello che volevo ottenere era un amplificatore ben suonante e che coprisse la maggior banda audio possibile, per adattarsi alle varie esigenze musicali.
Questo proposito mi ha portato ad escludere a priori l'idea del combo, perchè poco versatile, quindi ho impostato il progetto + head on a cabinet configuration.
Like all the other projects so far developed, the materials used were not chosen ad hoc, but found to be cost-effective sources (thanks Ebay!)
Another condition I set for myself was to do something that was not the classic amps copy an ampeg or
similar, but that was as personal as possible. Coincidentally
on ebay I came across a German company that sells car speakers with membranes hemispherical aluminum metallic red .. Tamarra the most of the universe! They had to be mine!
said than done .. I bought the nice cones and started construction.
I chose the two-cabinet configuration, the first con un driver da 15" in bass-reflex ed il secondo con due 10" ed un tweeter.
Ho costruito i cabinet con truciolato da 22mm, rivestendo le pareti interne con del piramidale per limitare le stazionarie interne.
Per il rivestimento esterno ho utilizzato la carta adesiva muccata che già avevo usato per la spia.
Montato tutto è iniziato il collaudo, decisamente soddisfacente per il cabinet superiore, meno per il 15", troppo subwoofer da macchina per esprimere al meglio le sonorità di un basso. "FORTUNA" volle che, avendo lasciato l'ampli nella sala prove dell'associazione culturale con la quale collaboravo, qualche simpatico buontempone si sia divertito a rompere proprio quell'altoparlante, così la voglia di cambiarlo è diventata necessità..
Sempre su ebay ho trovato un driver Peavey da 15".. decisamente un altro pianeta.. eheh.
Terminati i cabinet son passato alla realizzazione della testata..
L'idea per questa era un preamplificatore valvolare ed un finale a mosfet, in linea con le produzioni commerciali.
Stavo iniziando la produzione, quando su ebay mi è capitato per le mani un pro Rocktron digitale a bassissimo prezzo.. molto meno di quanto non avrei speso per realizzare il mio progetto.. così mi son convinto ed ho preso quello. Ho quindi realizzato un finale a mosfet da circa 400W, e chiuso il tutto in un case di legno,
ovviamente muccato.
Il risultato finale è visibile in foto:

Successivamente ho apportato qualche migliria, come le ruote, maniglie standard per flight case e la regolazione per il tweeter, in modo da tarare meglio la resa sonora dell'aggeggio..

Attualmente sto rivedendo la testata.. ho modificato il finale e sto realizzando i "tappi" frontale e posteriore nei quali implementare i cavi e la pedaliera midi per il pre digitale.


Alla prossima!

Sunday, October 8, 2006

How To Get Reviews On Fanfiction

improve the acoustics

Nelle fasi di allestimento del mio box insonorizzato per la batteria, mi sono imbattuto nel problema di come isolare la porta di ingresso che, essendo un modello economico, non fornisce un isolamento sufficiente.
L'idea allora è di creare una seconda porta o comunque un'ulteriore barriera per bloccare il più possibile le onde sonore.

Ovviamente usando materiali di recupero.. chi ha i soldi per usare materiali professionali!?!

Dunque.. Per lo scopo ho utilizzato semplicemente dei tappeti (mamma Ikea me ne ha forniti due uguali per la modica cifra di 30 euri..), del polistirolo e qualche travetto di legno..


La costruzione è stata molto semplice: per prima cosa ho fatto un telaio con i travetti di legno.


Per aumentare l'efficacia della barriera ho riempito lo spazio interno con del polistirolo.. non che faccia molto, però aiuta.


After that I simply inchiudato the mat to the frame with large-headed nails for upholstery, the color of the carpet, just to improve the aesthetics of the object.


The end result is a panel that can be placed as needed to block the sound waves "directional." Indeed
Such board acts on the mid-high range of the spectrum (as far as the battery, snare and cymbals for instance) and I must say that for the 25 euro spent to achieve it, rather than doing its job very well.

Wednesday, October 4, 2006

Drivers License Thickness?

Project 3 - Picture gallery

the blog was missing an image gallery as well as a good programmer "Old-style" I am screwed all the packages and I am pre-programmed in my own way ..

So .. to manage an image gallery functions to be managed are basically 3 .. entry, viewing and deleting images.

course also serves as a web space to upload files.

Like any project that the Internet is the starting point is the layout of the web page that will contain the final gallery. In my case I chose to create a table of 36 cells, in which the inner cells 16, together, contain the larger picture, while the remaining 20 various miniatures.

This choice dictates the size of stored images and related mininature, respectively 640x480 and 160x120 the first points of the second.

So the best thing to do is save the images directly on the server with these dimensions. Let's go step by step

:

The input function is handled by a simple form that identifies the image to load and write a text that will be the photo captions.
The form then passes the data to a php page that takes care of saving data on the server.
Saving takes place in three phases: first phase

: you save the image size of 640x480 points that will be a larger image.
in the case of photos you keep the vertical height of 480 points and you resize the width
second step: you save a thumbnail in size 160x120 points.

third stage: you save a text file that contains the caption of the photo.

the files is responsible for a serial number that is used to sort the files in chronological order of release.


The heart of the gallery is the display page, which performs many functions:

Being able to display only 20 images per page, you must determine which page is, view their images and manage the exchange page.

must dynamically create the table containing the thumbnails, creating for each cell links related to illumination, the caption, and commands to view a larger image.

provvederea must create the empty cells of the table, if there were not enough pictures to fill it.

All these functions are handled quite easily through php, except for the display function of the enlarged image, managed through a javascript.

As for phase cancellation, the only attention is de place in the recreation index numbers to eliminate duplicate numbers in any holes and later additions.
simply, after you delete the files and have made the index number, you rename the files later, climbing up on the index by one.

The end result is a tunnel which can be accessed in the links section!


Tuesday, October 3, 2006

Jvc Sp-pwm606 Subwoofer

According to project .. Charleston on the wire.

Idea born a little crazy to need a little challenge for the "famous brands" ..
Noting the poor functional status of the auction for my hat, one day I am gone in a music store to evaluate the purchase of a new mechanical .. of course I am coming home empty-handed, saw the average price for one of these products.
But I am impressed by a model that was controlled by a cable, allowing you to easily move the dishes within the set.

said than done, I wondered if it was not possible to build a contraption that could more or less do the job, and especially not cost 200 euros .. eheh!

A quick tour of the almighty Castorama, a detour in the electronics store of trust and a visit to the decathlon allowed me to stock up on all the material necessary for the modest sum of about € 30 in total.

The material needed to create a hi-hat line is:

mail from an aluminum block
a hanger tom
a bicycle brake cable
aluminum tube 8 mm
aluminum angles
aluminum flat
screws, washers, rivets ..
patience!


then .. Let's explain in principle how I built the darn thing ..


primcipio the base is to create a platform on which to slide the tree that will hold the top plate.
to do this, I drilled the aluminum box and I cut the aluminum tubes to create the two tracks.
I then took the ac aluminum profile and I cut to slide on the rails.
I then put 2 springs to support the aluminum profile, in order to keep the pot open if you press the pedal.
the aluminum profile, then I hooked up the tree hanger plate, which I threaded so it can be fixed with two nuts to the profile and then we can screw a nut drilled brakes that lock the thread.


At this point it is necessary to provide support for the bottom plate.
to perform this function I created a stack of washers, aluminum, fixed with 3 screws to the metal box, which I then glued a rubber support for the pot.

Great design!


whole contraption mounted I connected the brake cable and are passed to the completion of the pedal .. which in effect is still under construction, because I wanted to use the waste material "does not throw anything away."

It works, but having used very thin aluminum is very elastic, so not exactly equal to an equivalent normal hat.

I am considering the idea of \u200b\u200badapting a bass drum pedal in order, even if you lose the ability to make a new copy with material availability policy.

Mi rendo conto che le immagini che ho usato non son granchè e son sicuramente insufficienti ad illustrare la complessità del lavoro di realizzazione.. vedrò di scattare foto migliori..


Il charleston comunque adesso è inserito all'interno del mio set.. lo tengo sulla destra, con il pedale a sinistra, a fianco di quello normale.
Il passo successivo sarà realizzarne un altro modello da collocare al posto di quello sinistro.. e perchè no?.. magari anche il doppio pedale a filo..eheh

Stay tuned!

What Does Sour Stomach Feel Like

First project: A drum "musical" Hello everyone

Dilettandomi a suonare la batteria, un giorno I tried to purchase on ebay of a drum of 14 inches, to complete my set .. Unfortunately, the seller sent me a nice drum 12, because, neophyte on the subject, had the wrong size ..
not replace potendomelo and having paid a pittance, I decided to keep it groped for some experiments.
I've come up with the idea of \u200b\u200ba spy from drummer to "camouflage" in the set, of course, provided that the acoustic properties are fit for purpose.

will try to explain the procedures that I followed to achieve it.

The material I had available for the project was:

1 Tom 12 "(brand indefinite .. hehe).
a 10 inch woofer, which is also of dubious origin.
a Sand leather.
a leather mesh.
Chipboard 22 mm. Pyramidal
insulation.

Moreover, being the home of Tom in a color that I liked, I decided to change its appearance using a self-adhesive plastic-coated paper.

The phases of creation were as follows:

Starting from the original tom (the photo is indicative, I have forgotten to photograph the tom
start working ...):


I stripped the frame and apply the adhesive paper, achieving this result:


At this point I made a ring in which to set the Trucial
speaker, which I then painted black to draw the spots of adhesive paper
:


I have also done so boring the trunk to connect the XLR for electrical connection to the power amp.


AThis point I connected the woofer and I applied the skin mesh
that in addition to repair the speaker and be acoustically transparent, it allows me to tighten the circle, get back the full beauty of the drum:


done, I got a drum support for the auction route for plates and leg for an old car seat.

The drum is ready to go!


Notes functioning ..
I have not had the chance to test it thoroughly .. casino casino and makes the interesting thing is that as a good drum is tunable, meaning that depending on skin type resonant mounts, you can narrow or broaden the bandwidth of the speaker ..
currently mounted a heavy sand leather which I glued inside the pyramid to reduce the resonance and decrease the cone .. I also tried without skin and in that case you will get a bandwidth large, covering an enormous down .. certainly strives significantly the cone, which, being an object purchased in quantities of 30 € / 4 cones .. I do not think it can guarantee maximum reliability .. I
in forecasting the possibility of equipping the light with its own internal amplifier from a few hundred watts to maximize the portability of the object ..

What do you think?

Use Unleaded Gas In Coleman Lantern


Well .. the basic idea of \u200b\u200bthis blog is to share with others some of my ideas, projects, or simple insights, in order to create partnerships to develop new things and most articulate